# Connect to YouTube
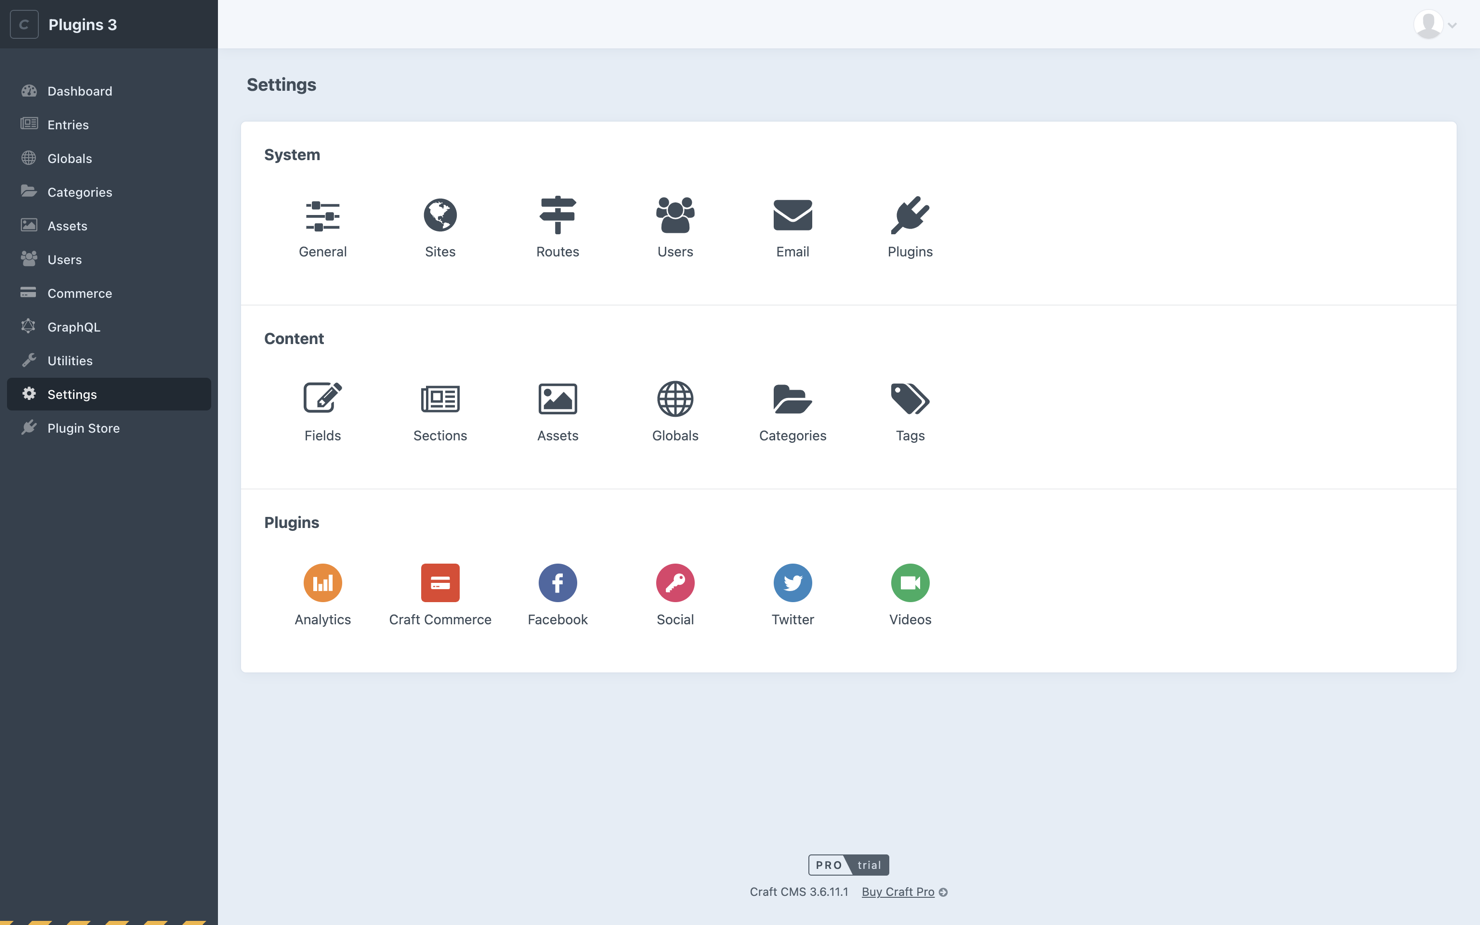
- Go to your Craft CMS control panel.
- Navigate to Settings → Videos → YouTube.
- Click on the “OAuth Settings” link.

# 1. Check your domain name
For the authentication to work, Google requires that your domain ends with a public top-level domain (such as .com or .org).
Even when working locally, make sure that you are using an existing public top-level domain. Domains like example.test will not be accepted by Google.
In this example, we get around Google’s requirements by using a .dev domain locally, but that works since .dev became a public top-level domain in 2019.
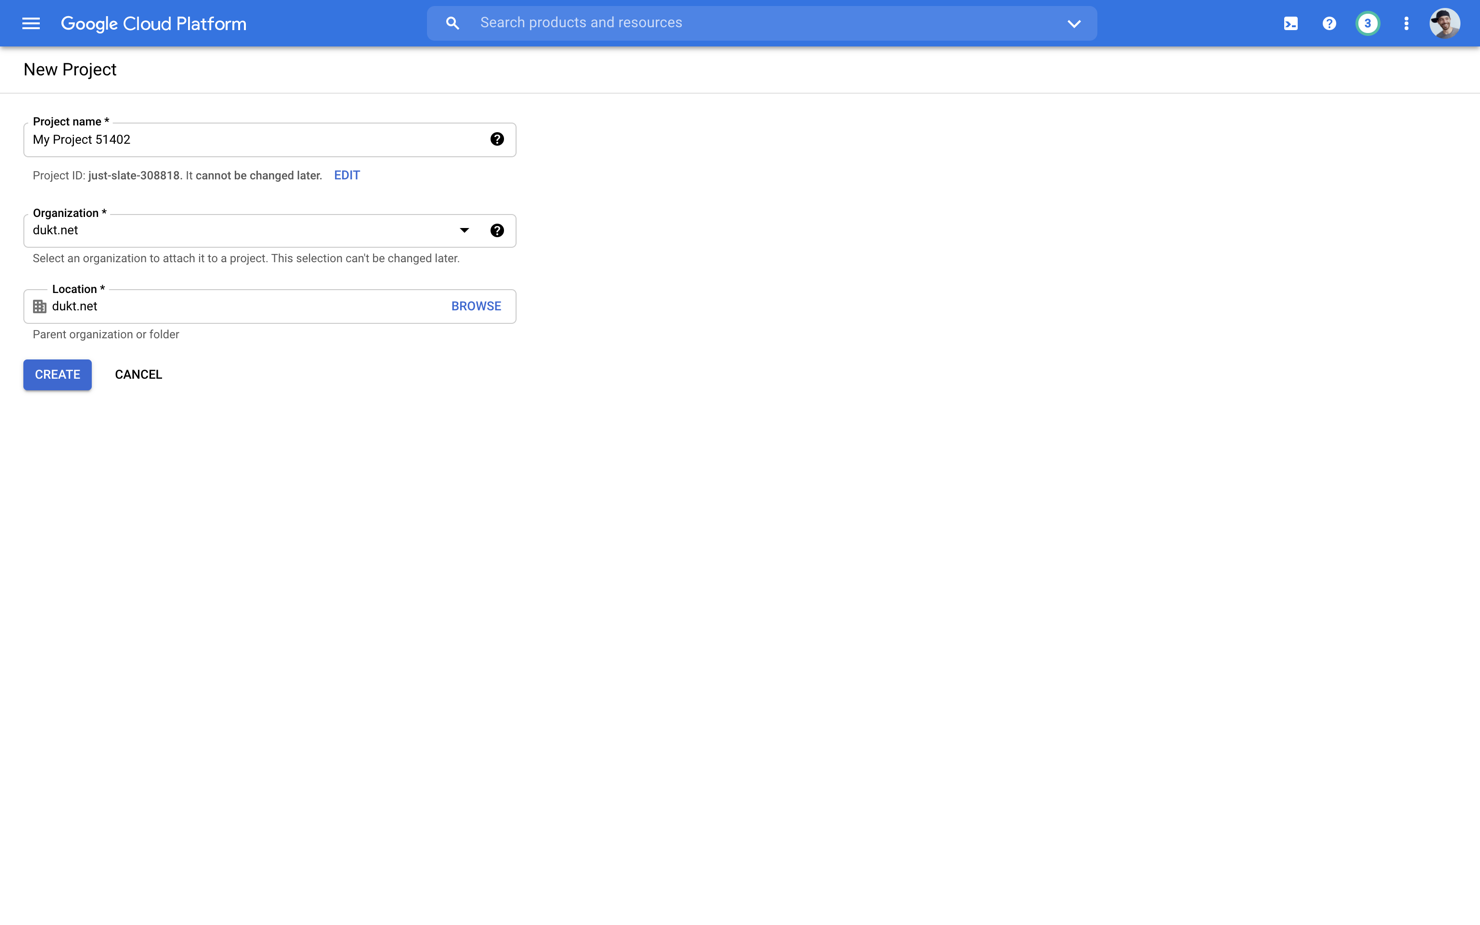
# 2. Create the Google Developer Console project
- In another tab of your browser, open the Google Developer Console (opens new window).
- Click on the projects dropdown located next to the “Google APIs” logo.
- Click the “New project” button.
- Choose a project name and click “Create”.
- It might not automatically take you to your newly created project, so make sure that it's selected in the projects dropdown (next to the “Google APIs” logo).
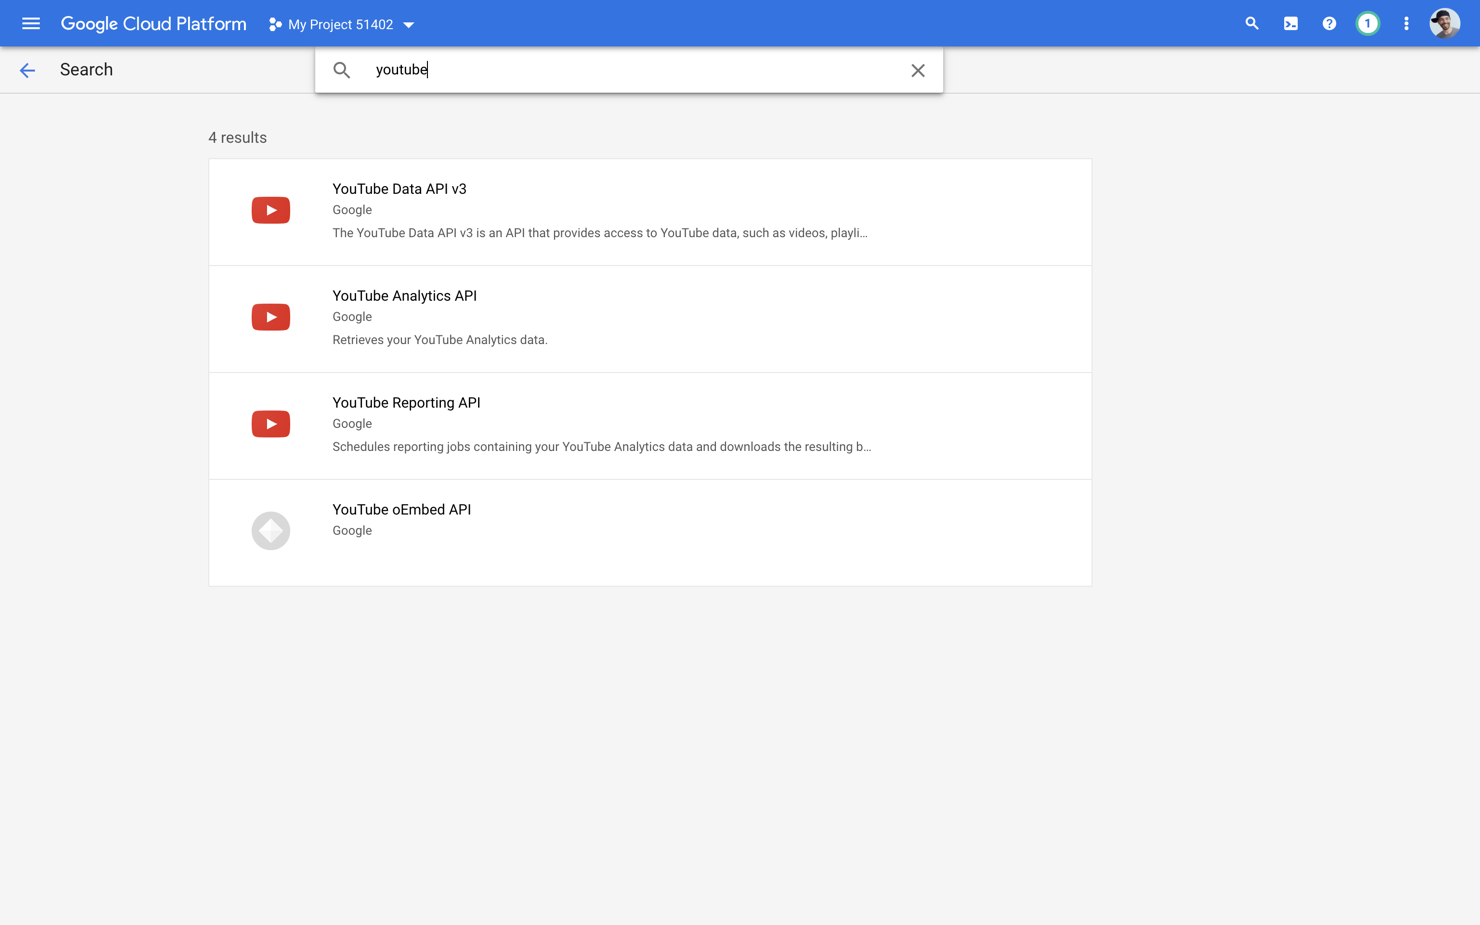
# 3. Enable YouTube APIs
- In the Google Developer Console (opens new window), navigate to API & Services → Library.
- Search for “youtube” in the API Library.
- Enable the following APIs:
- YouTube Analytics API
- YouTube Data API v3
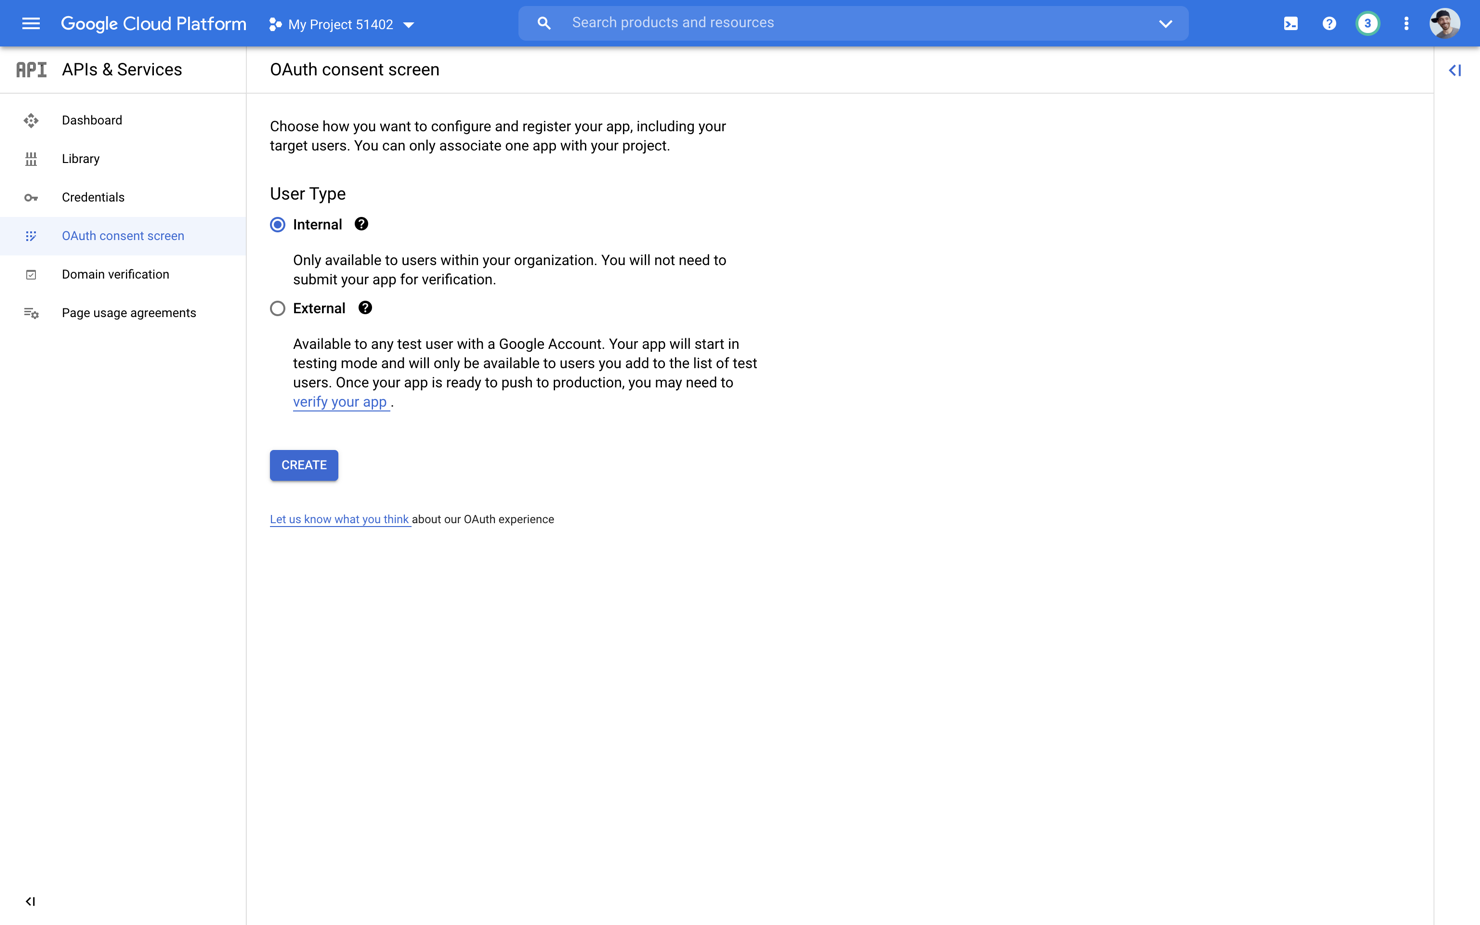
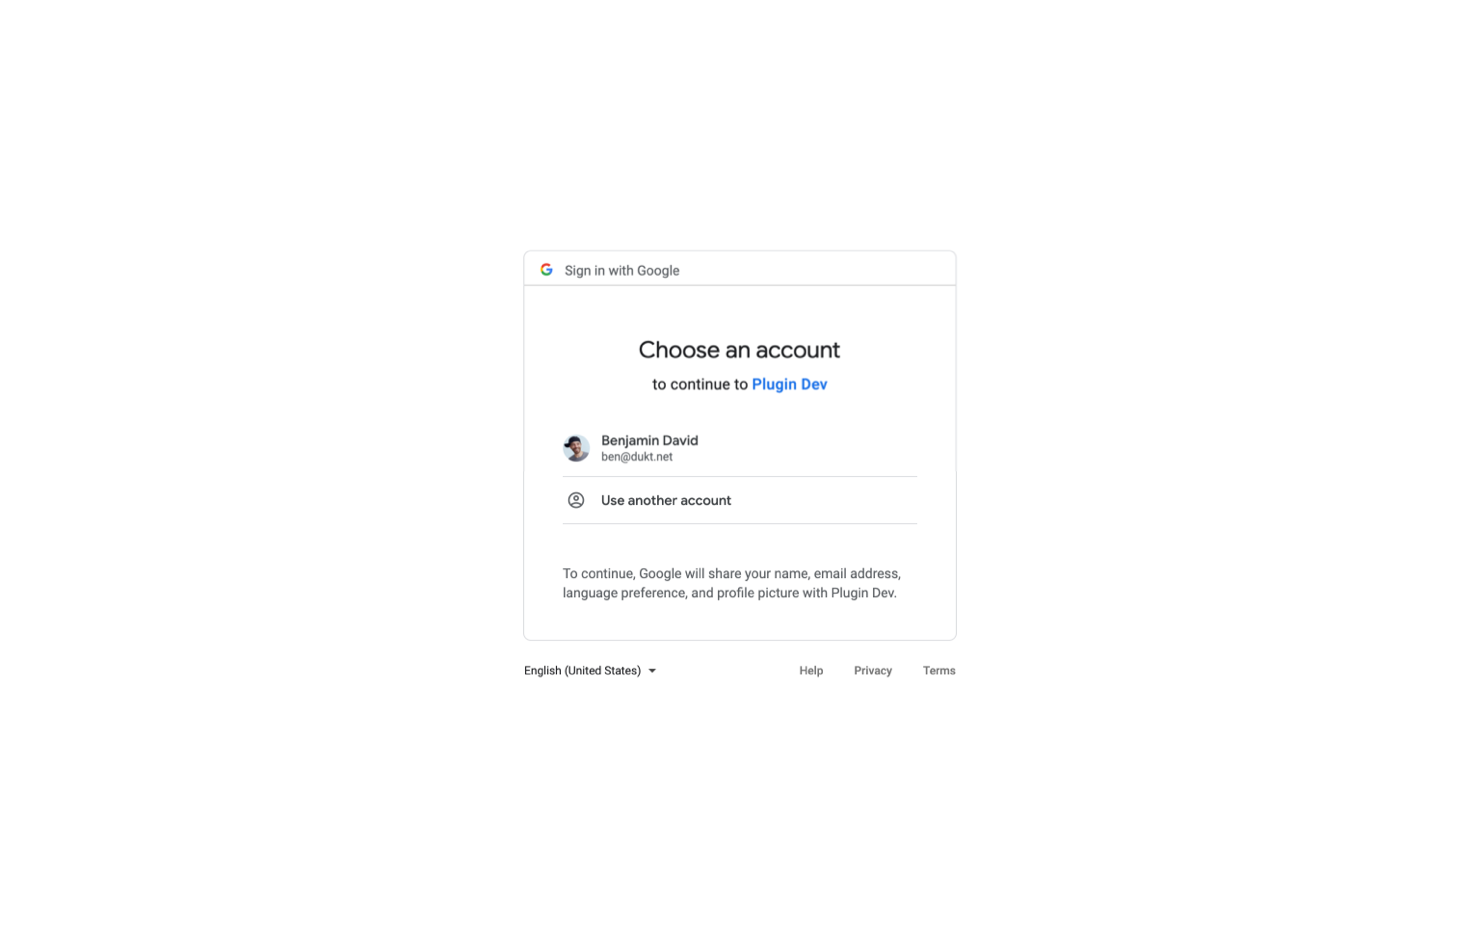
# 4. Configure the OAuth consent screen
When connecting to your YouTube account, your website requests authorizations to access YouTube APIs. Google displays a consent screen to the user including a summary of your project and its policies, and the requested scopes of access. The consent screen needs to be configured for the authorization process to work properly.
- In the Google Developer Console (opens new window), navigate to API & Services → OAuth consent screen.
- Select the “User Type” that fits your needs, in this guide, we will choose “Internal”, and click “Create”.
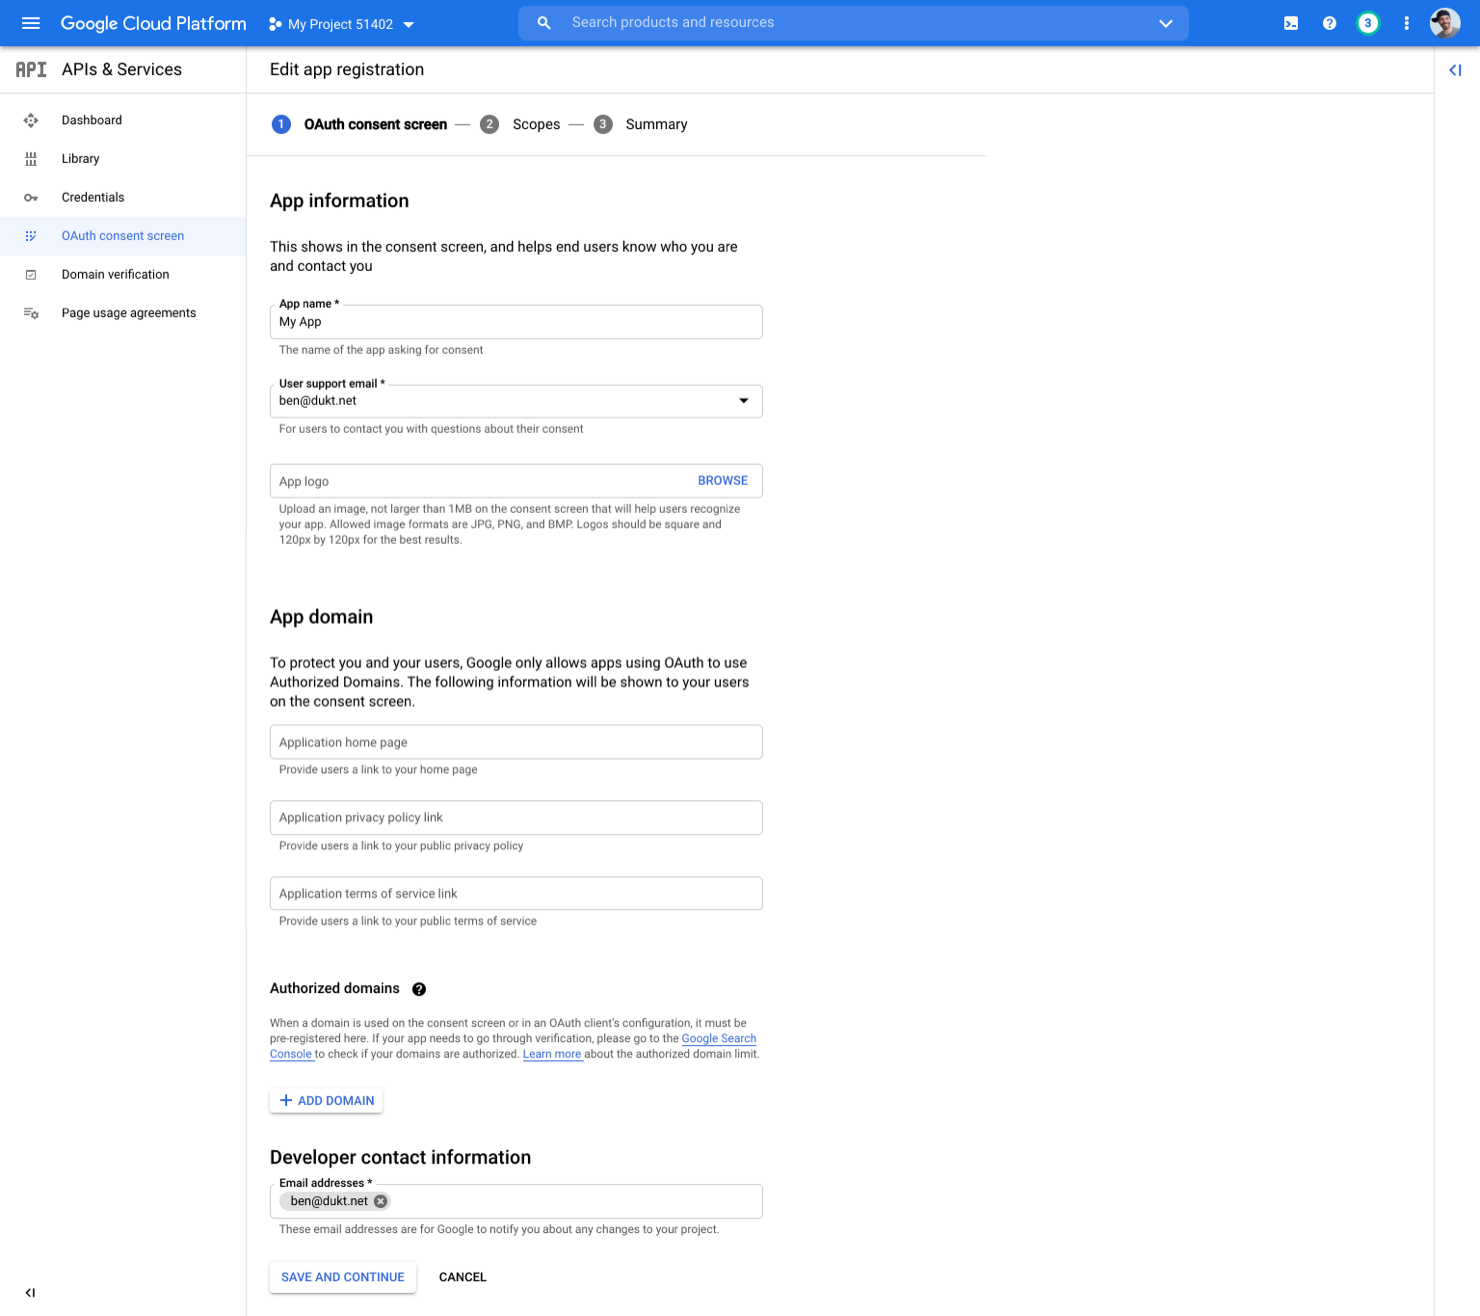
- Fill the mandatory fields:
- App name
- User support email
- Developer email address
- Click “Save and continue”.
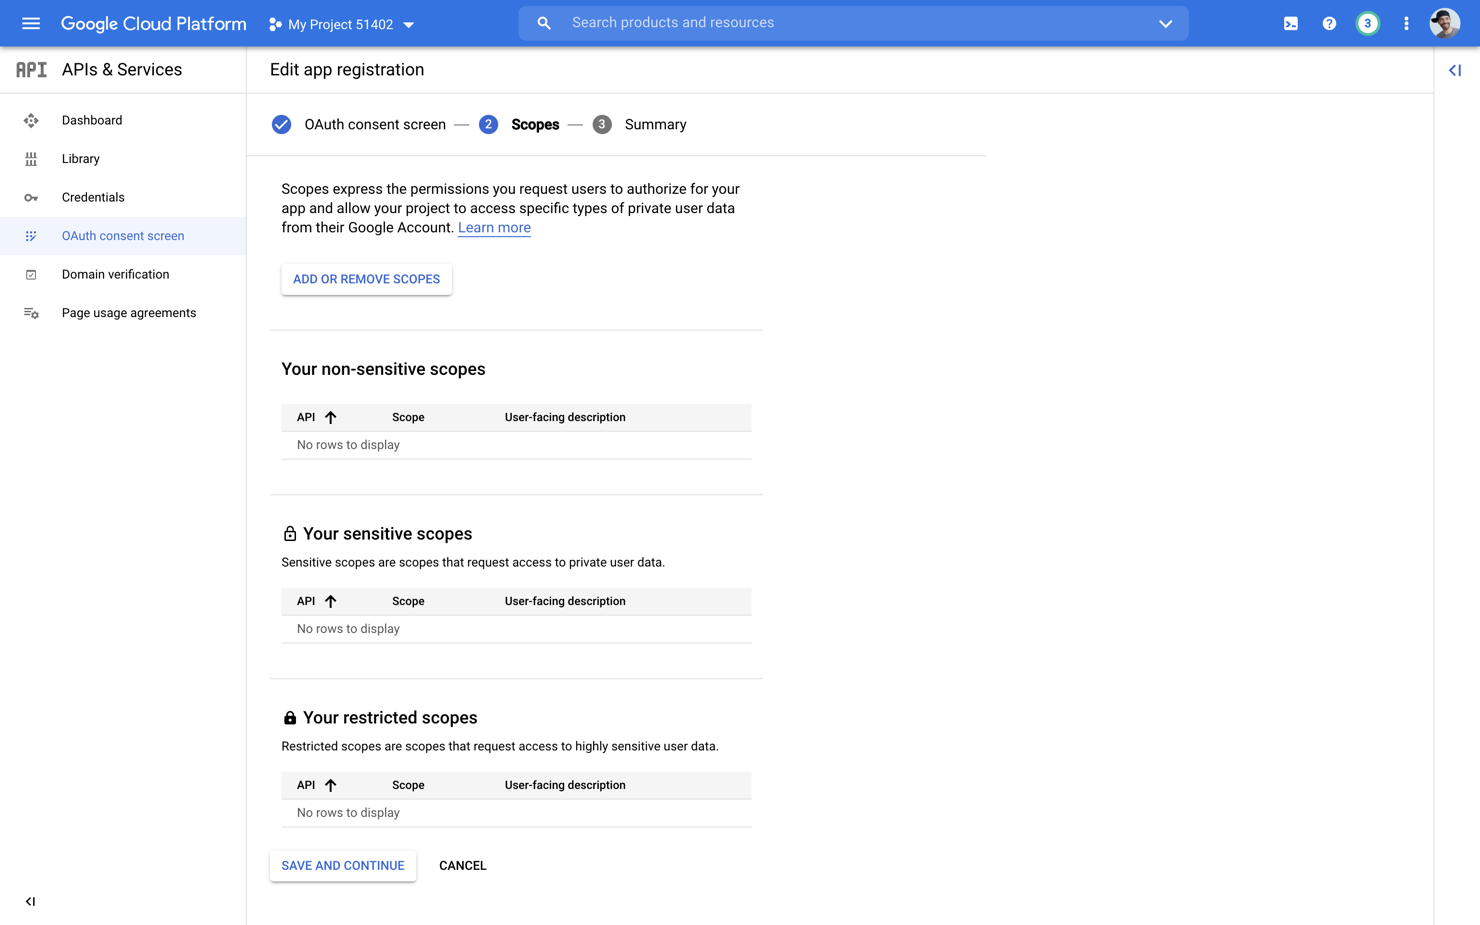
- On the “Scopes” screen, don’t do anything and click “Save and continue”.
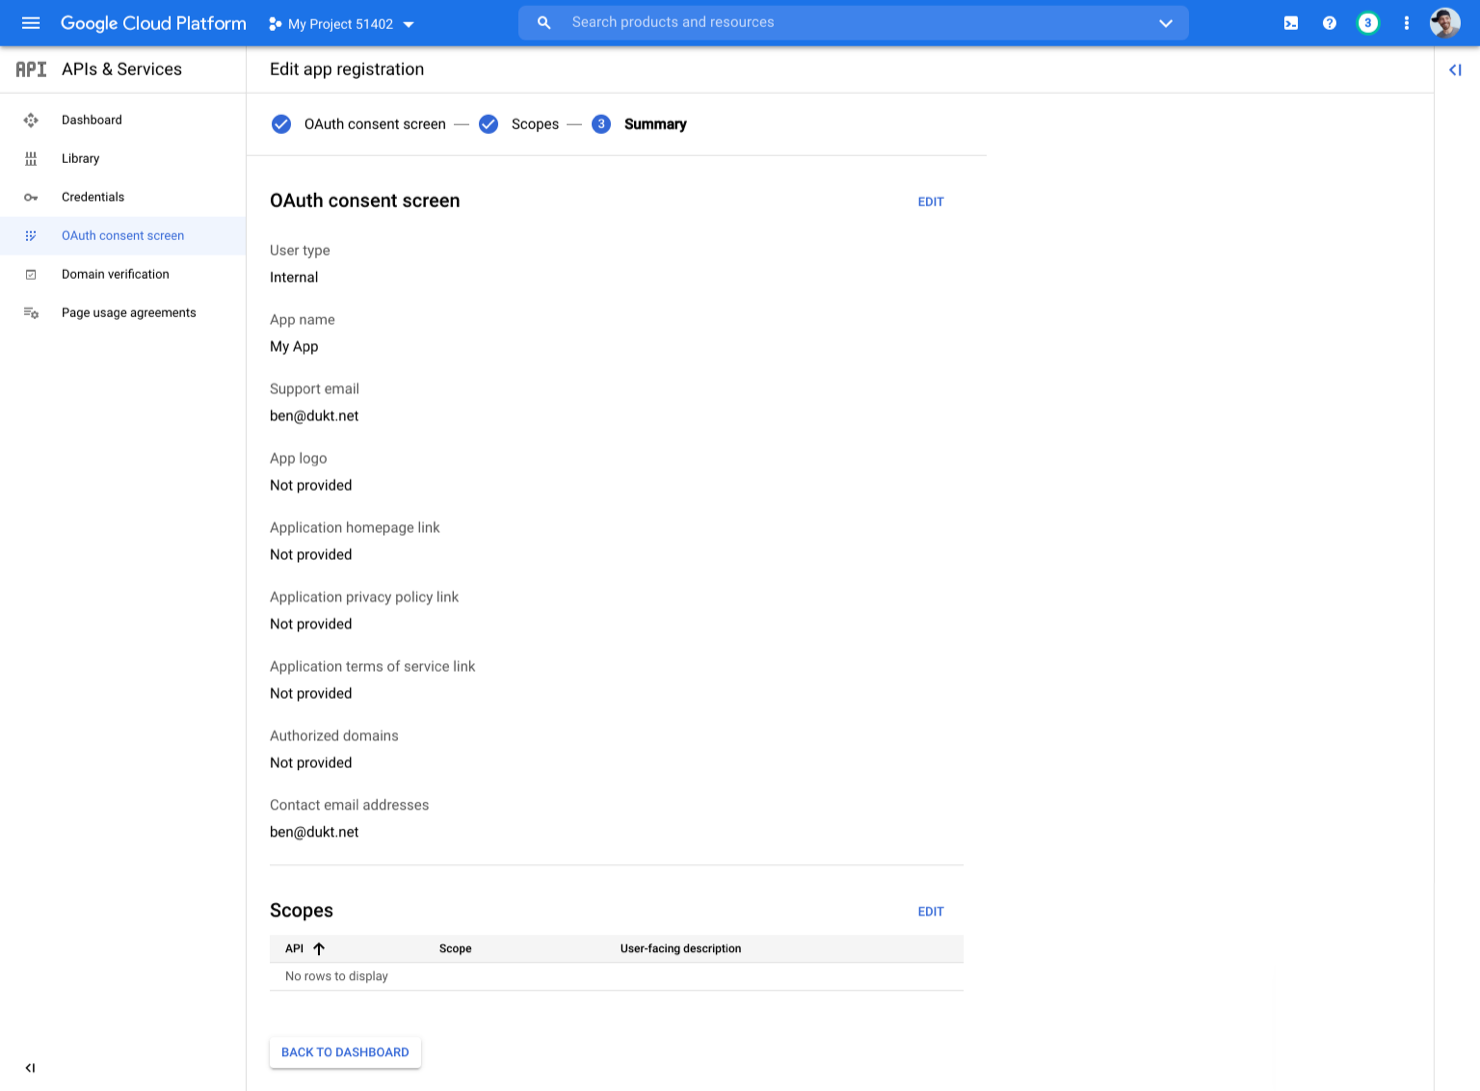
- Google then shows you a summary, click the “Back to dashboard” button.
# 5. Create the OAuth client
- Go to your Google Developer Console project.
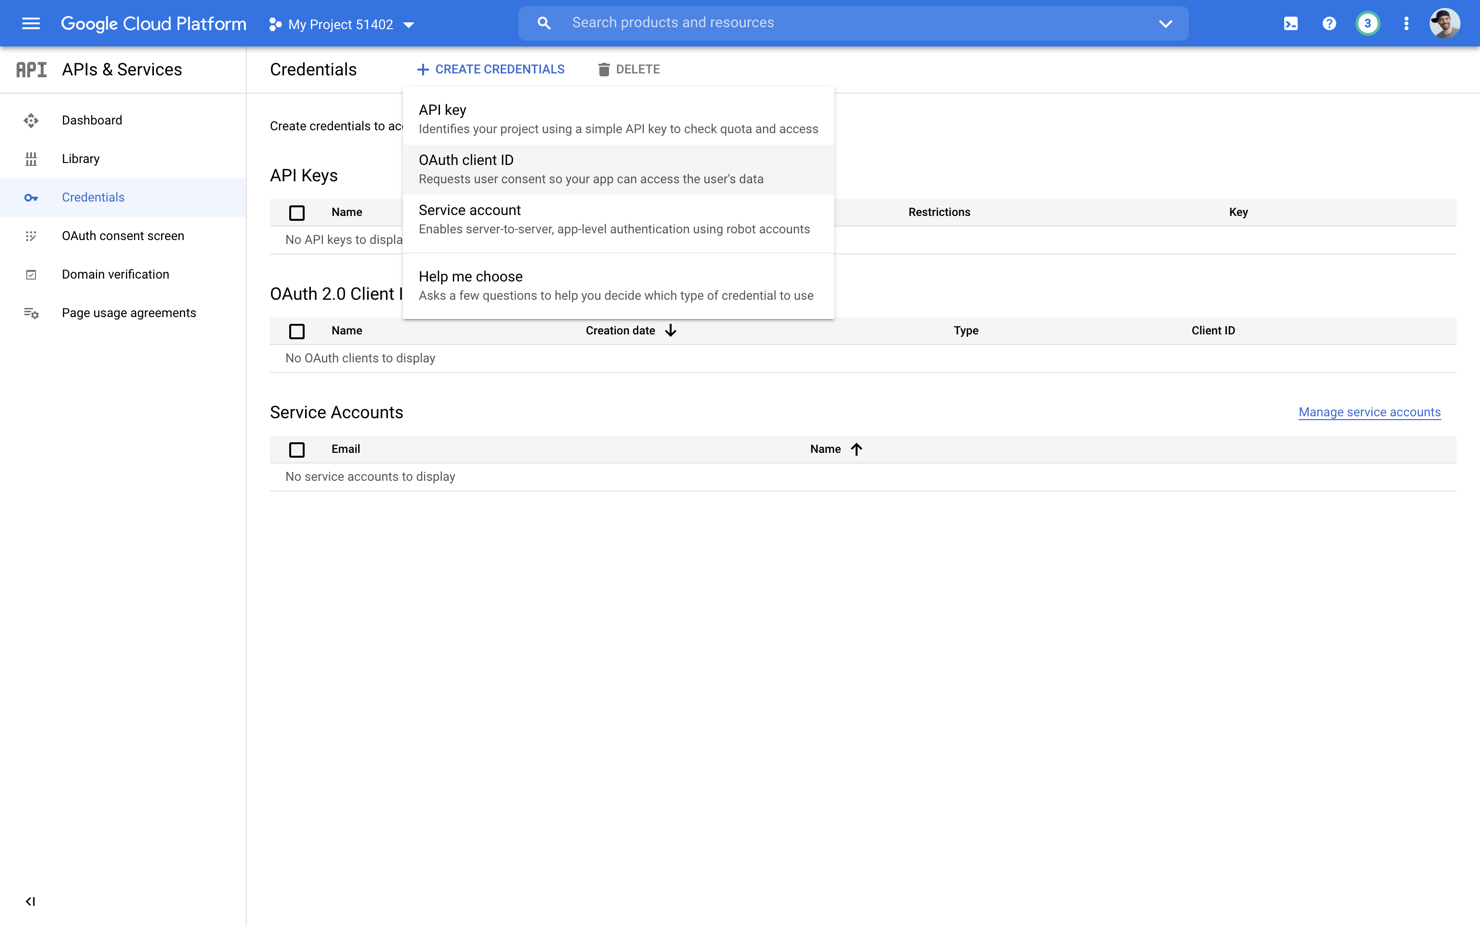
- Navigate to API & Services → Credentials, click the “Create credentials” button and create a new “OAuth client ID”.
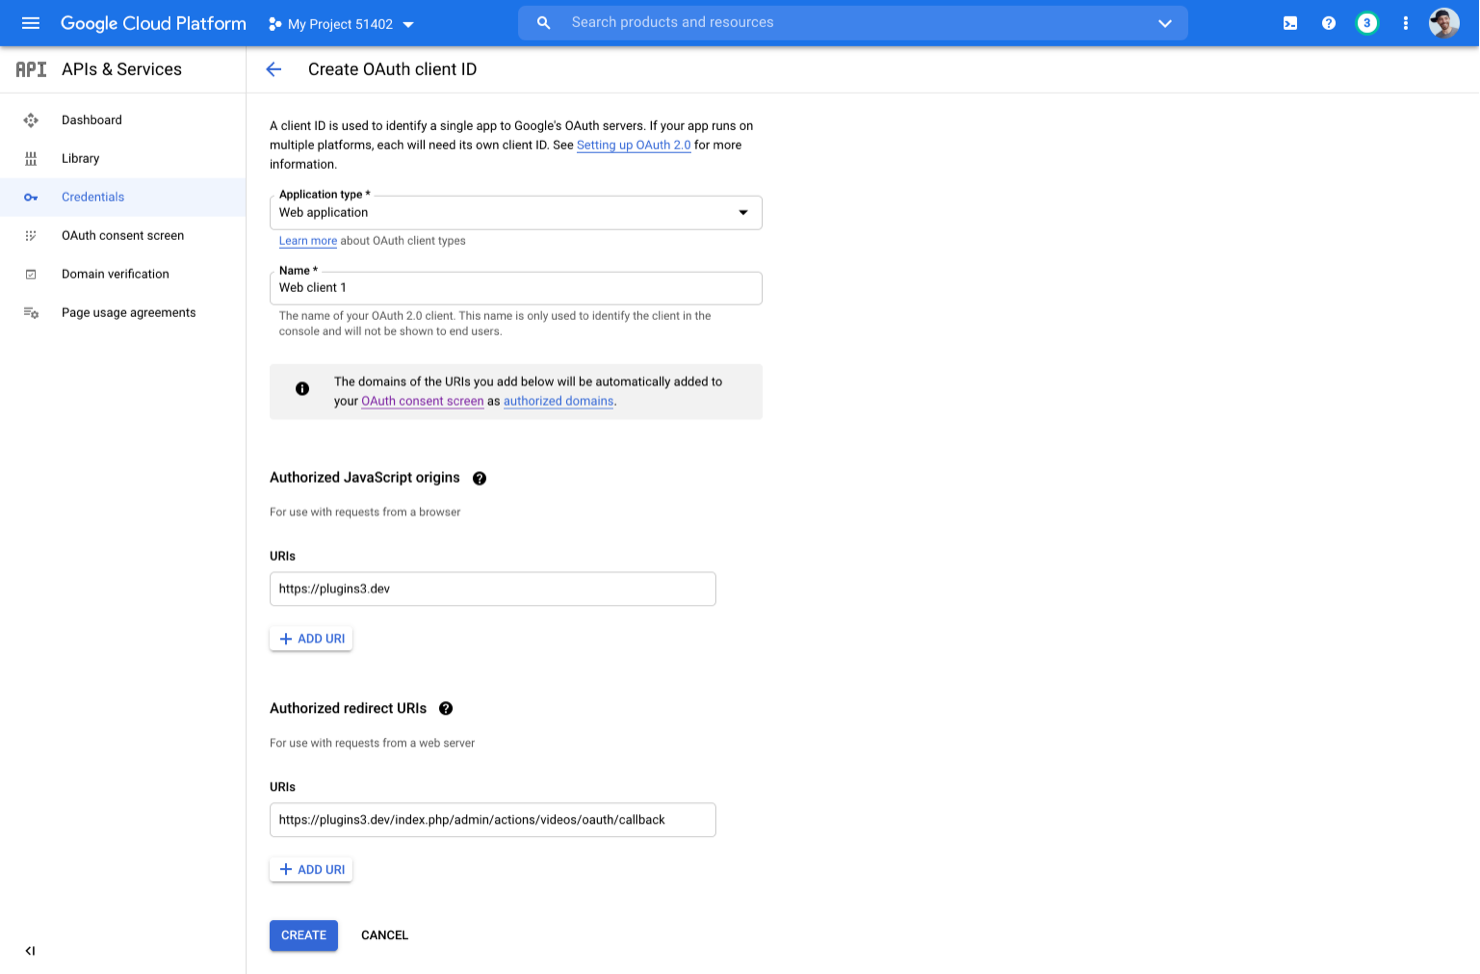
- On the next step, select the application type “Web Application” and choose a name for your web client.
- In the “Authorized JavaScript origins”, click the “Add URI” button.
- Copy the authorized javascript origin URL from the Videos plugin OAuth settings, in your Craft CMS control panel.
- In the “Authorized redirect URIs”, click the “Add URI” button.
- Copy the authorized redirect URL from the Videos plugin OAuth settings, in your Craft CMS control panel.
- Click “Save”.
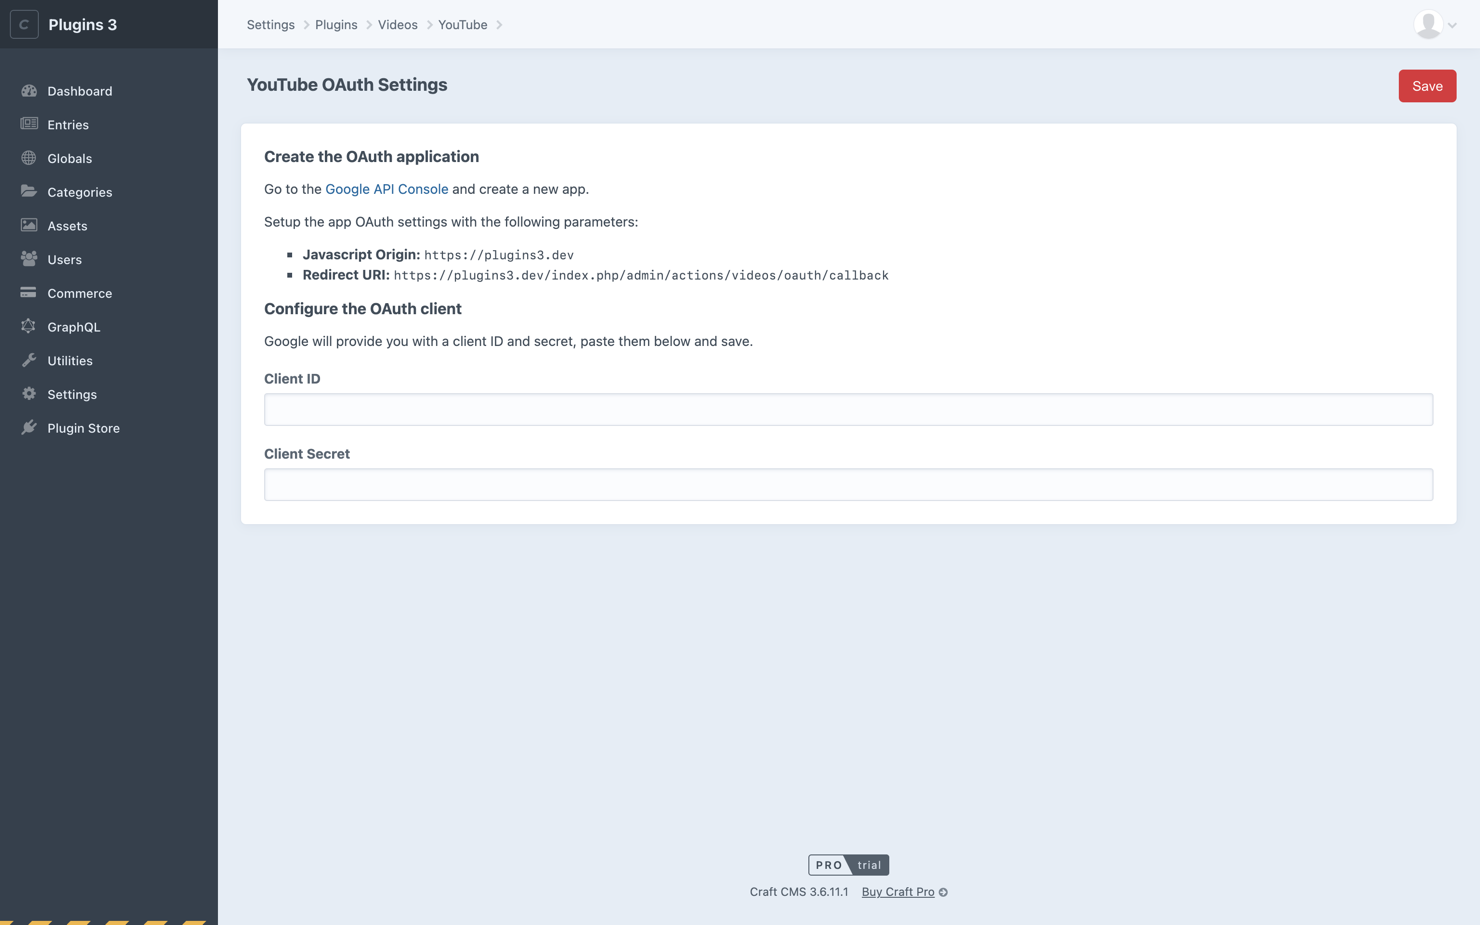
# 6. Configure the OAuth client
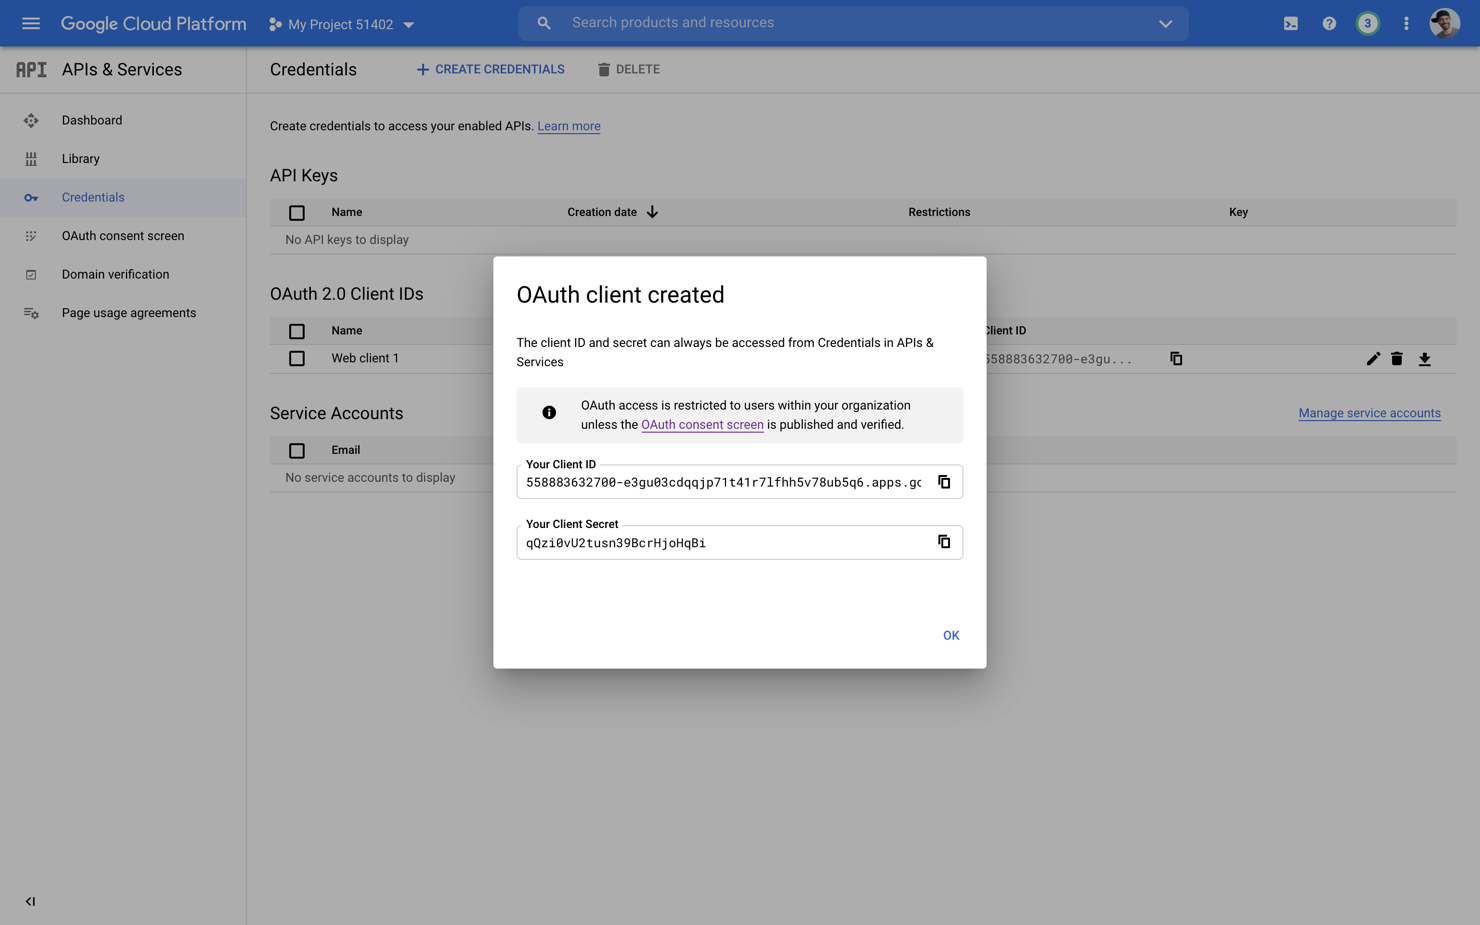
Once the OAuth client is created, Google will provide you with a client ID and secret.
- Copy the client ID & secret.
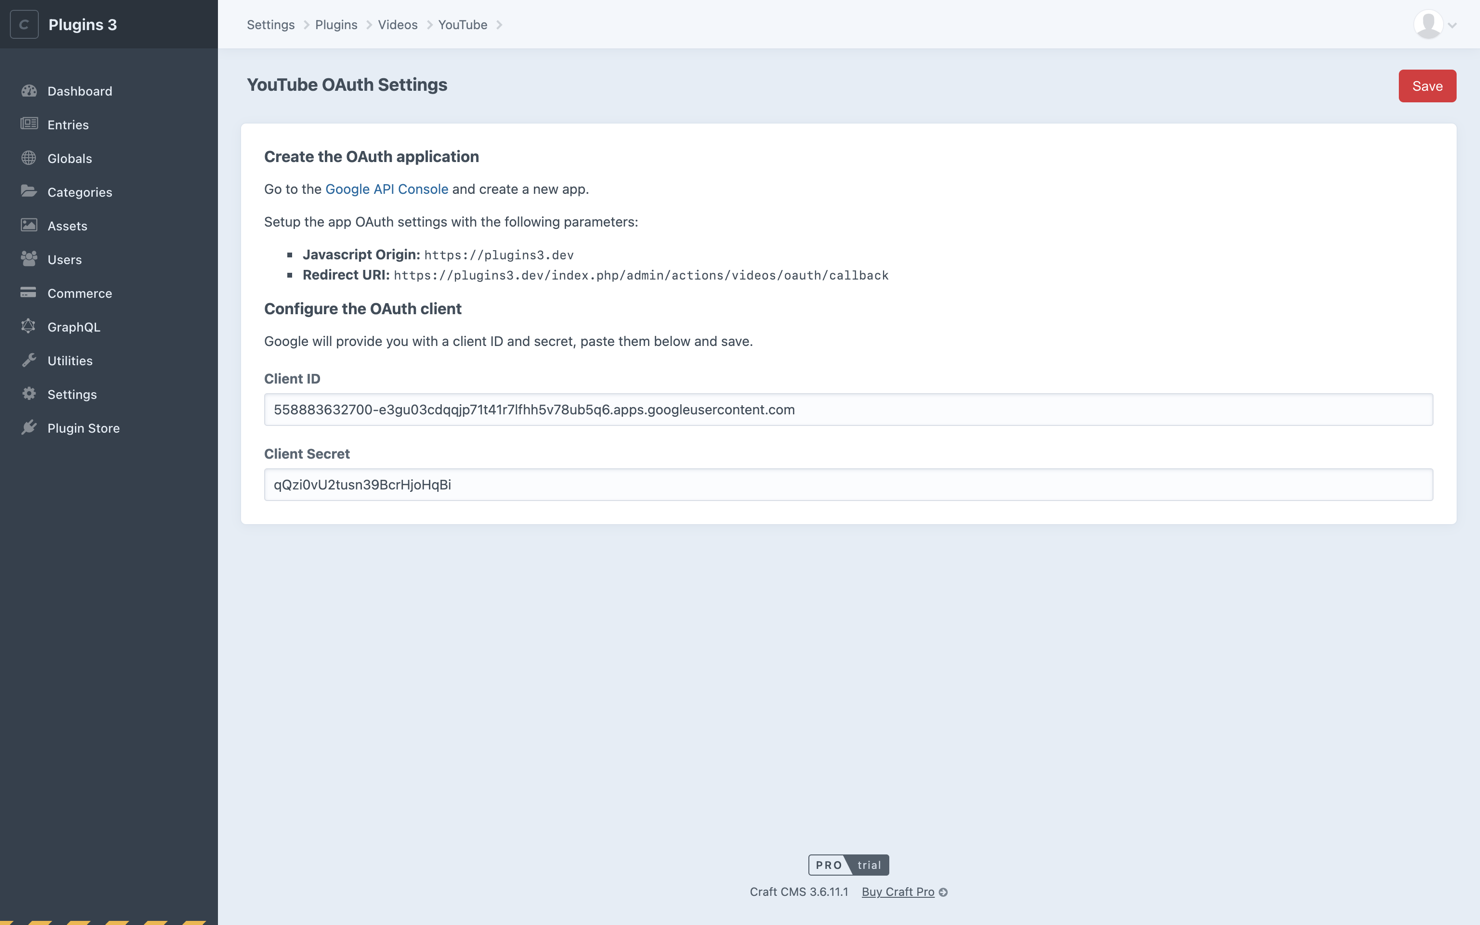
- Go to your Craft CMS control panel.
- Navigate to Settings → Videos → YouTube.
- Click on the “OAuth Settings” link.
- Paste the OAuth client and secret into the corresponding fields and click “Save”.
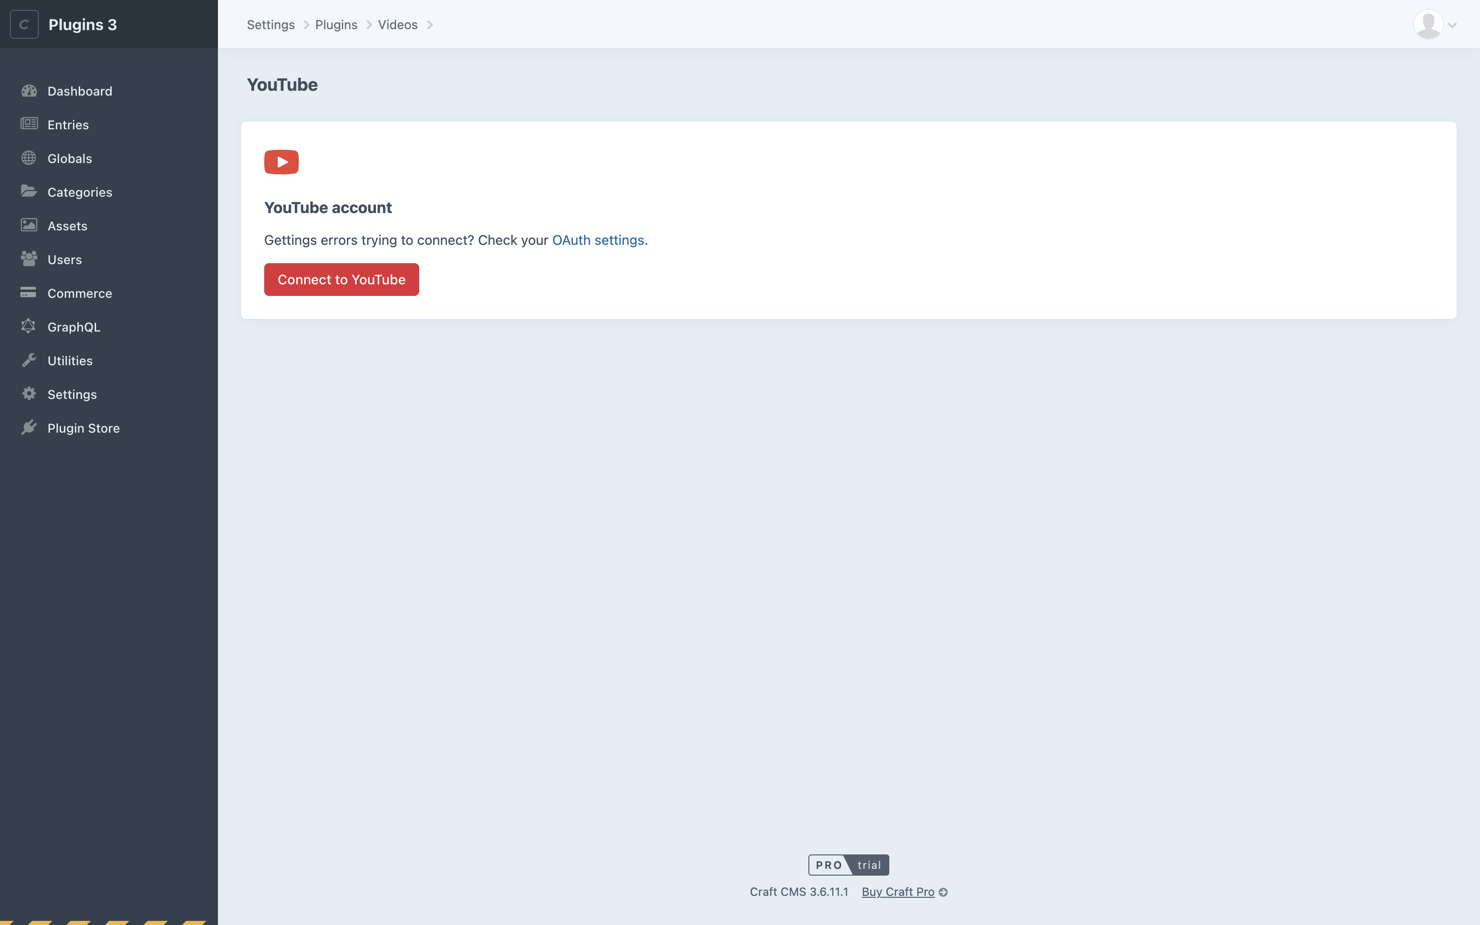
# 7. Connect to YouTube
You should now be ready to connect your Craft CMS website to your YouTube account:
- Go to your Craft CMS control panel.
- Navigate to Settings → Videos → YouTube and click ”Connect to YouTube”.


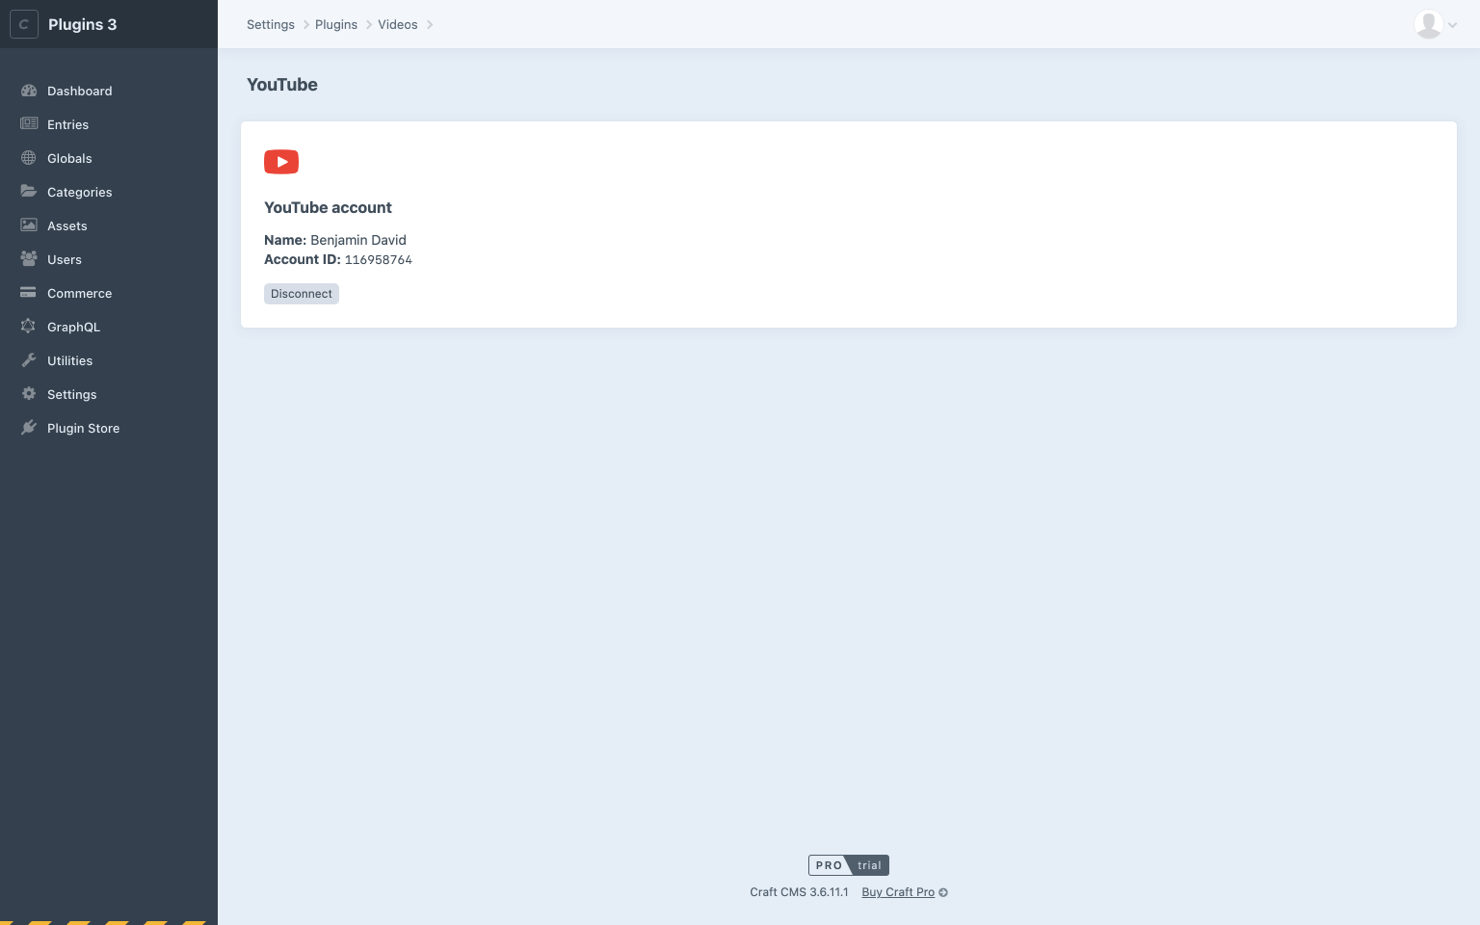
🎉